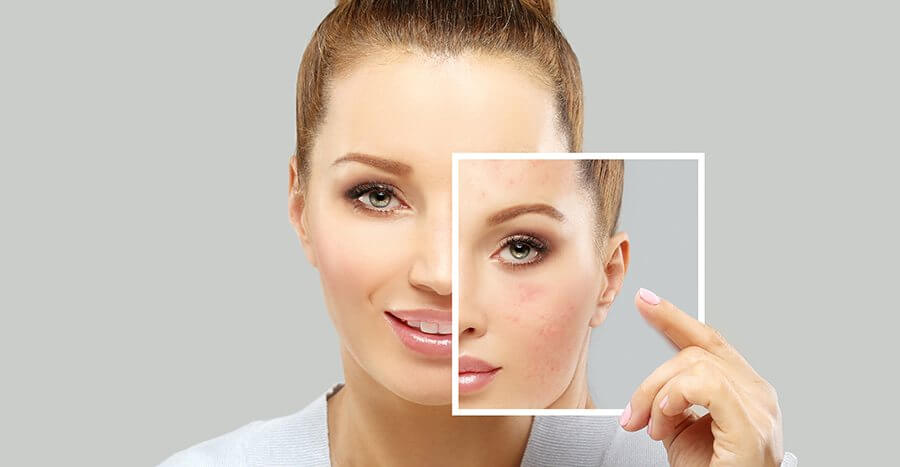
Any modern business requires a relevant marketing strategy to receive stable revenue and attract more customers, and the aesthetic medicine sphere is not an exception. Medspa advertising incorporates multiple approaches to promote the aesthetic business, and taking before and after photos is one of them. Such photos are the primary evidence that your skin-resurfacing treatments are truly effective, so a client will begin to trust your clinic more. This article will discuss how to make facial laser resurfacing before and after photos.
A few steps for taking beauty skin care photography
1. Purchase high-quality equipment
B&A photos demand a high-resolution camera to make the most impression on your potential clients. Nikon and Canon offer a wide range of solutions, so go ahead and choose one that suits you the most. When it comes to the lens, an 85mm or 100mm will work perfectly to focus on skin improvements after a procedure. Besides, you can consider investing in an imaging system, like VISIA Skin Analysis System. It will help you get high-quality B&A images with automated light and focus settings.
2. Prepare a patient for taking photos
Before engaging in photo shooting, make sure a patient signed an agreement that allows using their photos for your specific purposes and agrees to be present in both before and after photo sessions. The first photo should be taken just before the procedure itself. Ask your patient to remove any makeup and jewelry. It would be better to cover the patient’s clothing with a white, black, or gray drape and use a neutral background. You probably don’t want the visible skin stretching on the image, so ask a patient to have a neutral facial expression. For an after photo, ask a client to come back for a photo session after 1 to 6 months depending on the recovery time. Photo shooting conditions are the same – no makeup, face creams, and jewelry. Use the same neutral background and drape to cover clothing in neutral colors.
3. Adjust lighting
Your goal is to demonstrate skin improvements in skin resurfacing before and after photos, and lighting is essential to let viewers see the skin condition. Utilizing two lights from each side of your camera is typically enough. However, purchasing LED light panels is even a better idea.
4. Match camera settings in both images
B&A photos require shooting from the same angles and distances to look more professional. If you shoot a before photo from a 45-degree angle, be sure you shoot from the same angle later.
5. Create a space for B&A photos
Before and after skin-resurfacing procedure images appear as a great persuader of the effectiveness of your treatments. Thus, having dedicated space in your office or clinic for photos of treatment results is critical. When all the images are made in the same camera settings and gathered together in one place, your potential clients will evaluate your business as a professional one and which is worth applying for.