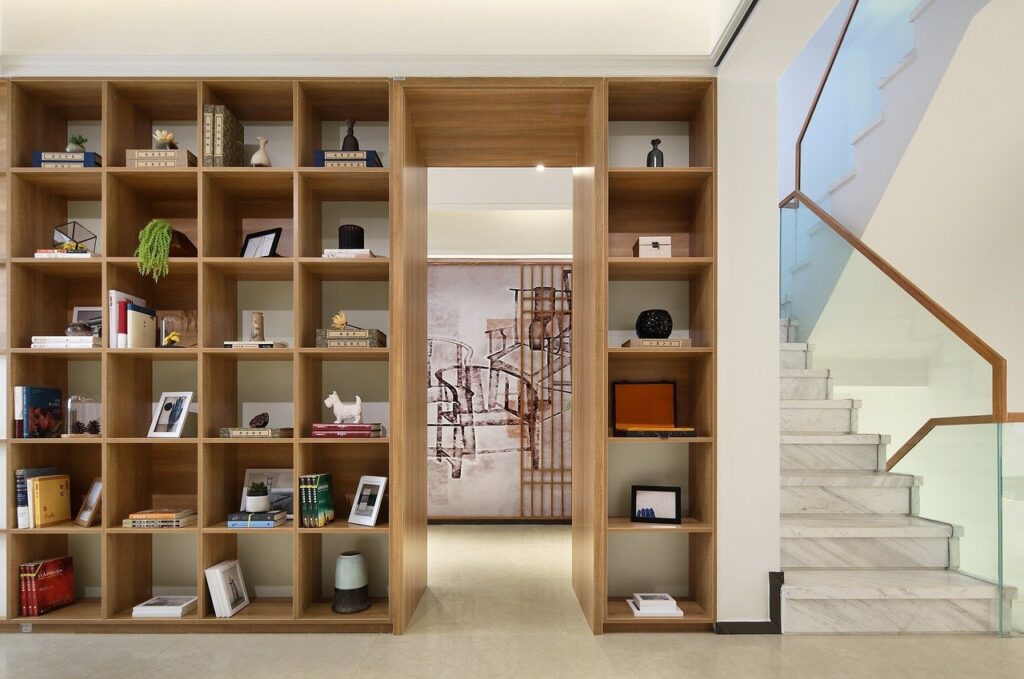
Dreaming of a home bar but can’t fit one into your tight space? See how a bookshelf can be redefined into a marvelous drinks cabinet. And just imagine an evening when you in kawaii onesie come to that drinks cabinet to get a glass of red wine and get relaxed in a comfy armchair in front of the fireplace. Awesome, isn’t it? So let’s start checking out the guidelines that will convert this little dream into reality.
Shopping list
• six 1800mm x 222mm x 22mm pine cut to: six 1200mm (framework) six 370mm (shelves)
• one half-sheet 3mm backing board cut to: one 1200mm x 420mm (backing across three cubicles)
• one 22mm laminated pine shelving cut to: three 380mm x 365mm (doors)
• three 380mm x 365mm x 3mm mirror
Other items
• ±thirty six 40mm chipboard screws • ±twenty six 16mm chipboard screws • sixteen corner blocks
• three-door catches
• three doorknobs
• 1.5m thin chain
• six 40mm butt hinges
• four 90mm legs
• 20mm panel pins
• wood glue
• medium grit sandpaper (120 grit)
• wood filler (to fill over countersunk screws)
• paintbrush and foam roller
• multisurface primer/universal undercoat
• water-based enamel
Tools
• cordless drill and 3mm combination countersink drill bit
• orbital sander
• hammer
• combination square • corner clamps (optional)
• spatula
• tape measure
• sharp pencil
Quick project guide
• Hard labor 4/10 (an extra pair of hands may be necessary) • Skill level 6/10 (ability to work accurately and use power tools)
Time needed: a weekend project
Do it yourself for: $630 (mirror ±$150; legs, hinges, latches, chain ±$280; glue, screws, filler ±$R55; wood and backing board ±$900; primer, paint, brushes ±$240)**Prices are average and may vary from store to store.
Project notes
• We constructed our bookshelf from scratch – but the concept of a sealed bar can be applied to an existing bookshelf; in that case, you’d need fewer materials.
• You can also adapt our bookshelf/bar to suit your specific requirements.
Get started
1 Use the measuring tape and combination square to mark out 22mm-wide strips at both ends, and at 370mm intervals along two of the 1200mm planks. Then mark out 22mm-wide strips at 385mm intervals along the remaining four 220mm x 22mm planks; the ends of these will not be marked.
2 Drill three countersunk pilot holes inside these areas; use the combination countersink drill bit or a 3mm drill bit followed by a countersink bit.
3 Use the 40mm chipboard screws to create the shelf unit framework by fixing (gluing and screwing) the four 1200mm upright sections to the top, as shown. Remember to first drill pilot holes before gluing and screwing in place. Also, check that all joins are fixed at 90o by using a combination square as you work. Then add the bottom panel and repeat the fixing process. Now use the corner blocks to fix the shelves in place, at the 385mm marks on the upright sections. Apply wood filler to all joints and imperfections using the spatula; once the filler is dry, use the sander and sandpaper to finish all these areas. Then use a paintbrush to apply multisurface primer, or a universal undercoat followed by water-based enamel in the color of your choice – or simply apply a UV-resistant polyurethane varnish.
4 Fix the four 90mm legs to the underside of the framework, as shown.
5 Now fix the backing board to the framework, using panel pins. TIP Draw lines across the backing to mark the position of the framework.
6 Apply Bostik Mirror in narrow vertical lines to the backs of the three mirror panels, then fix in position against the backing.
7 Also use the 16mm chipboard screws to fix the hinges to the doors, and to the inside of the cubicles, as shown. 8 Fix the required lengths of chain to the inside of the cubicles. Remember to allow for the thickness of the door when fixing the chain in position, as shown. 9 Now fix the door catches inside the cubicles and to the doors. 10 Fit the handles to the doors.
